

Decorative and durable edging can have any number of uses in an outdoor home. It makes great garden borders, turf edges, driveway and parking curbs, decorative tree surrounds, and barriers for loose ground covers.
The best concrete to use for small casting projects is QUIKRETE® Crack-Resistant Concrete (No. 1006), which contains small fibers to add strength to the finished product without the use of metal reinforcement. However, for any casting that’s less than 2” thick, use QUIKRETE® Sand Topping Mix (No. 1103). This special concrete mix has no large aggregates, allowing it to form easily into smaller areas. Either type of concrete must cure for 48 hours before you can remove the mold; to speed your productivity, you may want to build more than one mold.
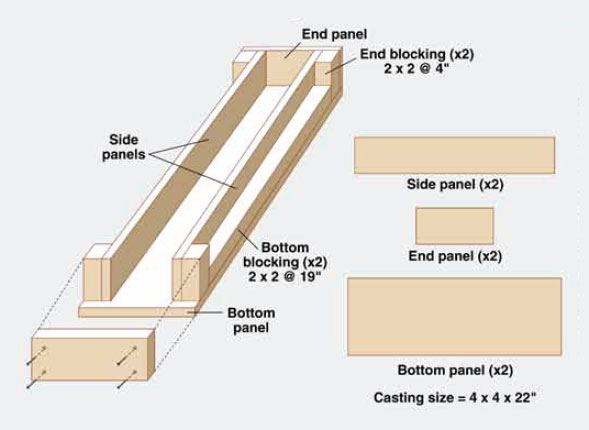
Build your mold with 3/4" plywood or 3/4" melamine-coated particleboard and 2x2 lumber. The melamine creates an exceptionally smooth finish and doesn't need oil or a release agent to prevent the concrete from sticking. Follow the basic construction shown here, you can use the dimensions given or change the height, length, or width of the mold as desired.
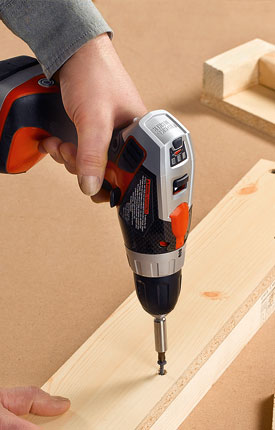
1. Cut the pieces for the mold. Fasten the end blocking pieces flush with the ends of the side panels using pairs of 2" drywall screws driven through pilot holes. Fasten the bottom blocking to the side panels, flush along the bottom edges.
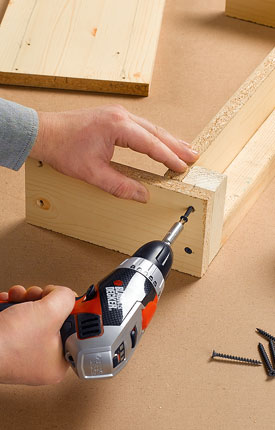
2. Fasten the end panels to the end blocking with 2" screws. Install the bottom panel with screws driven through the panel and into the bottom blocking. Make sure all panels and blocking are flush along the top and bottom edges. Note: You may need to leave one end open in order to work, as we have done here.
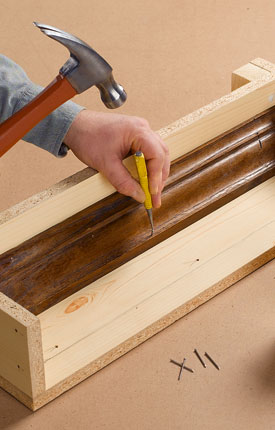
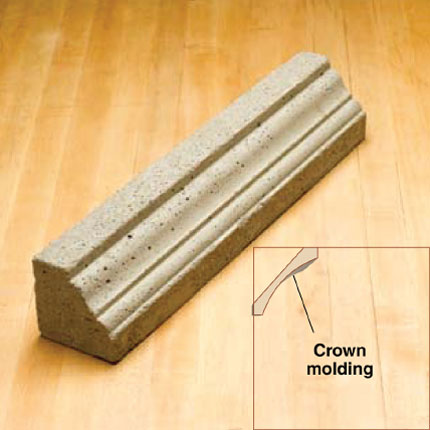
3. Add trim or other elements as desired for custom shaping effects. Here, we used crown molding, which we fastened to the blocking with finish nails using a nail set. Cover the screw heads on the inside of the mold with silicone caulk: then flatten to create a smooth, flat surface.
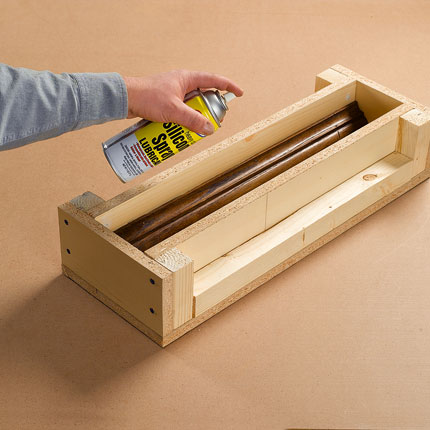
4. Coat the inside of the mold (all non-melamine parts) with clean vegetable oil or another release agent. Mix a batch of concrete following the product directions. An 80-lb. bag of crack-resistant concrete will fill two of the molds.
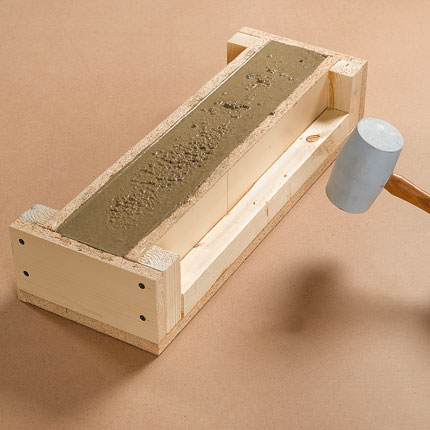
5. Fill the mold with concrete. Settle the pour into the mold by pounding the work surface with a mallet or lifting the corners of the mold and tapping it onto the work surface.
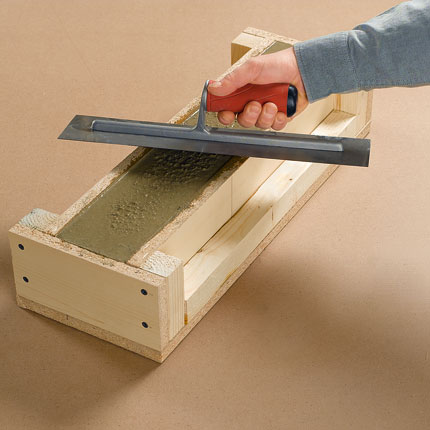
6. Screed or trowel the concrete so it is flat and flush with the top of the mold. Cover the mold with plastic sheeting and let it cure undisturbed for 48 hours.
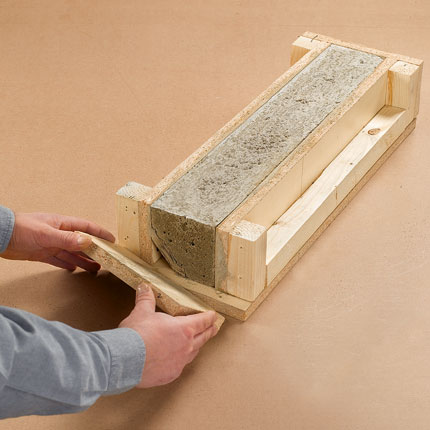
7. Carefully disassemble the mold by unscrewing the ends and bottom from the sides, as needed. Scrape, file, or grind any ragged edges for clean detailing in the finished piece. For maximum strength, set the casting in a shaded area and moisture-cure it for three to five days, keeping it damp under plastic sheeting.
QUIK-TIP:
For a personal touch, add liquid cement color to your concrete mix before pouring it into the mold. One 10 oz. bottle can color two 60-lb. or 80-lb. bags of concrete mix. Experiment with different proportions to find the right amount of color for your project.
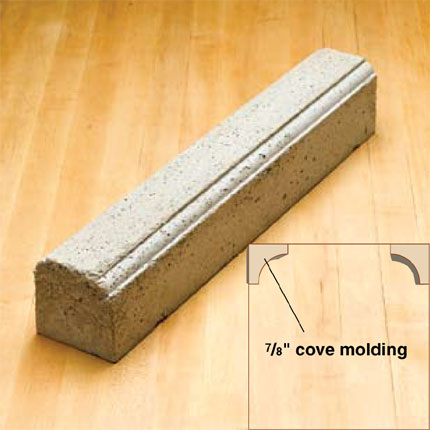
To shape the top and/or side edges of your border castings, secure pieces of wood molding or other objects into the bottom or side of the mold. The casting will come out with the relief, or negative profile, of the object.
When fastening the object to the mold, think about how you'll take the mold apart. For wood trim, fasten the pieces with finish nails, and fill the nail holes with caulk. For tile and other inlay materials, secure the tiles to the mold bottom with adhesive shelf paper; peel off the paper after removing the casting from the mold.